Streamlined Synchronisation
- When preparing a new contact for a recipient, you can select an existing contact by beginning to type the contact’s name. Any existing result will auto-populate the recipient details, but if the contact doesn’t exist, it will be automatically created once the document has been sent for signature.
Create Your Contacts from Contacts Page
- You can add new contacts to Sign.co by clicking Create feature from the top pane.
- On selecting Create, Create Contact page will appear as a side pane.
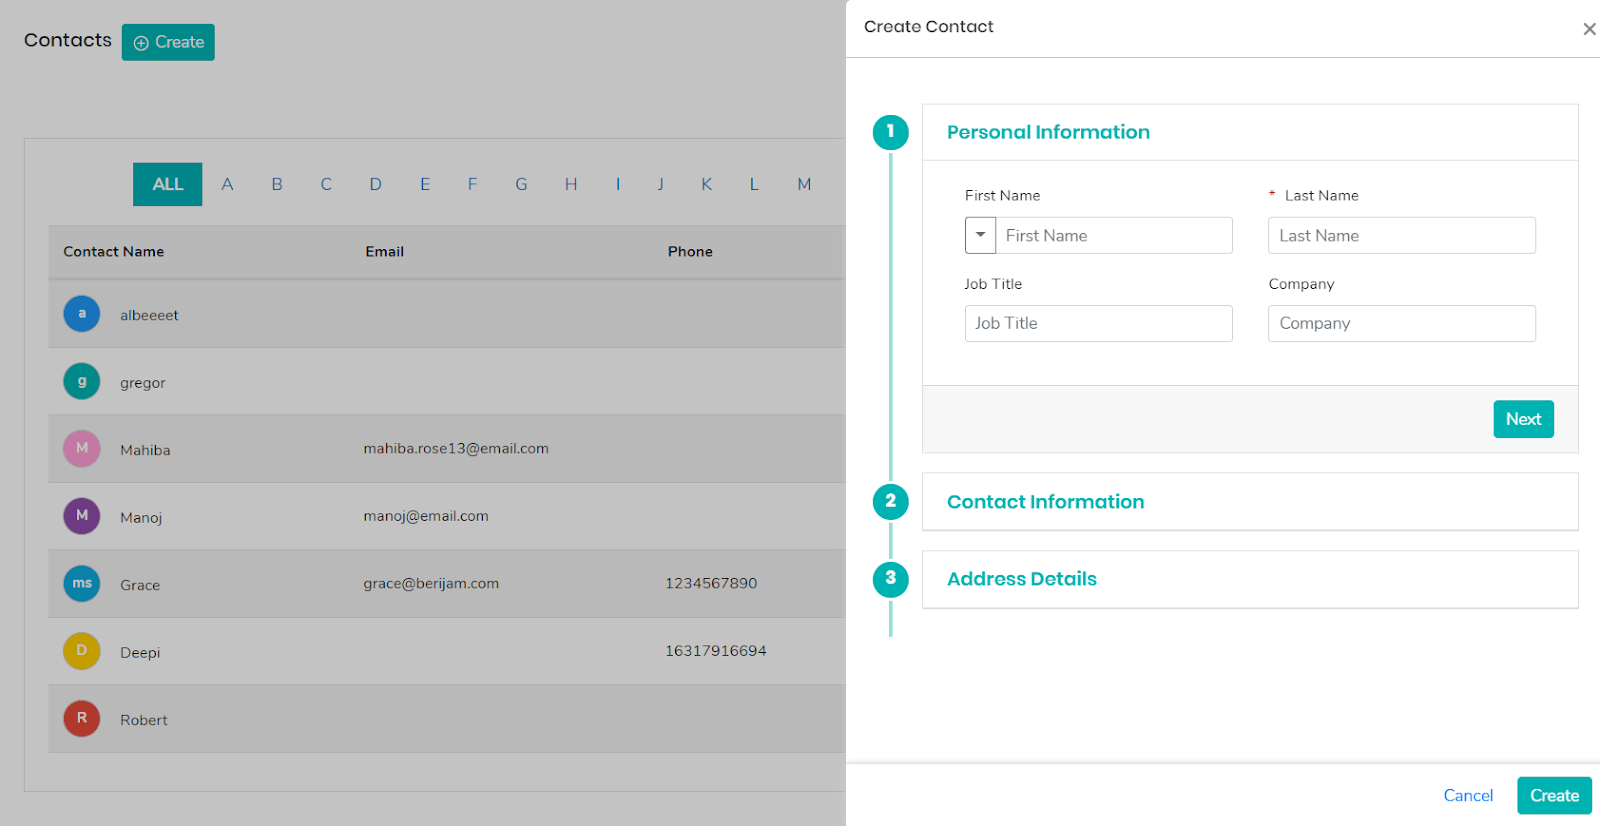
- You can feed multiple information related to your contacts like their personal information, contact information, and address details
Personal Information
- You can add the first and last name of the contact in this section.
- Sign.co allows you to add the job title of your contact along with their related department.
- You can select from a dropdown if the contact is a part of Administration, E-Commerce, decision Making, billing or shipping.
- If the contact has a customer associated with it, then add the name of the customer in the customer field.
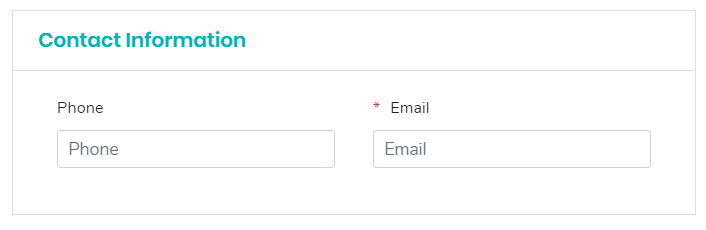
Contact Information
- You can add the phone number and Email address of your contact here.
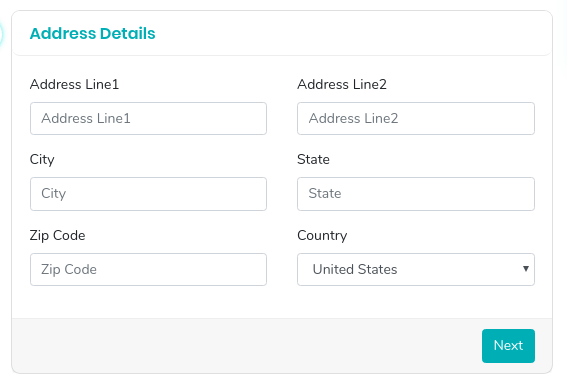
Address Details
- Add the communication address of your contact under Address Details.
Create Your Contacts from Choosing your way to Sign
- Adding new contacts in Send for Sign and In-Person Sign creates a new contact in the Contacts Directory.
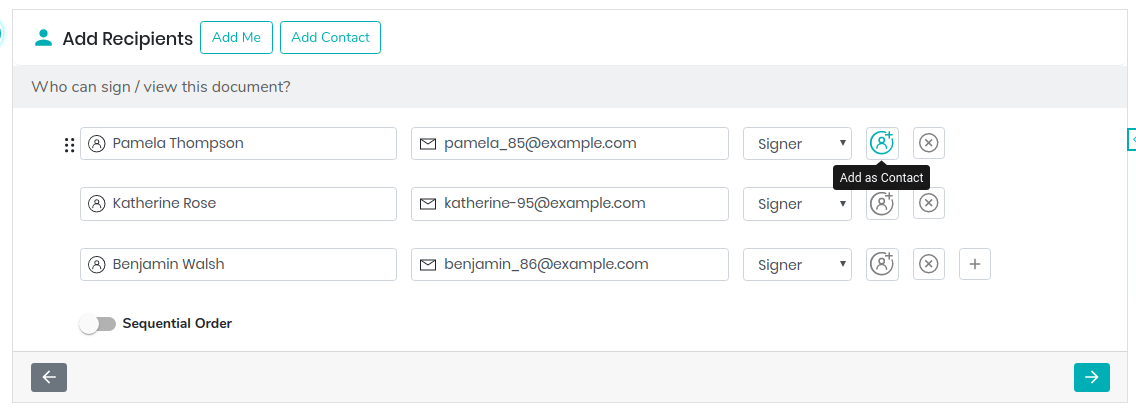
- Once a name and email address are added as a recipient or as a signatory, you can click on Add as Contact icon to add it to the contacts directory.